Enter project settings
Define the project attributes.
- Enter the project settings.
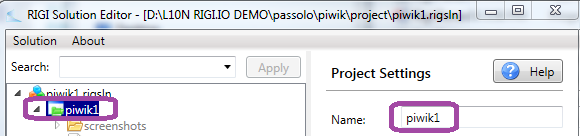
Name: Enter a project name. This name is only used for display purposes. The entered project name is shown in the tree view. |
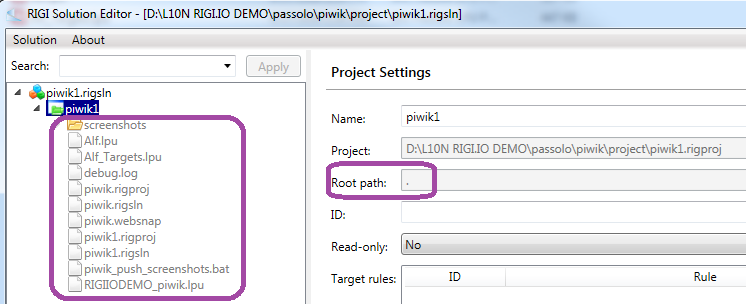
Project: This is the location of the project file (.rigproj). The absolute path is shown in the UI, but under the hood Rigi stores relative paths to the location of the solution file (.rigsln). |
Root path: This is the root folder of where the files are located that must be localized. The initial value is the location of the project file. The tree view shows the files that are located in that path.
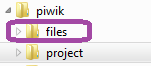
In this example, the source files or this particular project are not located in piwik\project, but in folder piwik\files. Click the Browse-button to select that folder. The treeview now shows the subfolders and files in that folder. The root path has a relative location to the solution. |
ID: It is recommended to define a project ID for this project. Rigi concatenates three identifiers (separated with a dot) to determine a unique ID within the solution:
|
Read-only: Define if the strings in a project are read-only (default = no). Rigi provides a WYSIWYG translation environment for translators and reviewers. Rigi substitutes translations in Rigi screenshot with the actual translation. Some software projects may have different teams that work on various projects, where the projects have different localization cycles. In those cases, it is possible to import the translations from existing projects as a reference for the translator. It means that translators can see the translations, but not change them. |

- Select Solution > Save